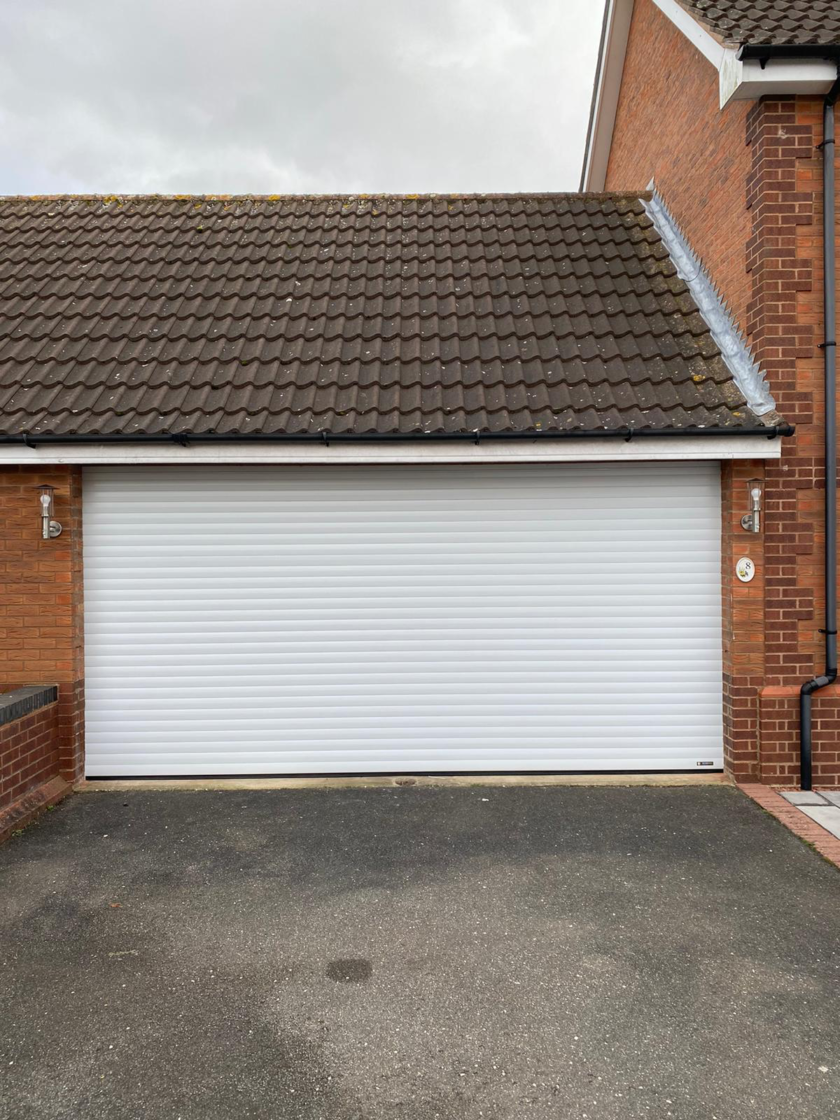
Dummies Guide to Installing a Garage Door

More and more of us are choosing roller garage doors over the more traditional canopy style due to the many advantages this innovative design can bring. They’re ideal for homeowners with short driveways, enabling them to drive right up to the door and ensure they’re car is not blocking the road. They’re also great for improving home insulation, reducing heat loss by up to 90 percent. However, the big question that’s being asked is ‘how easy is it to install a roller garage door?’.
The answer – very easy!
Here’s a simple step-by-step guide to installing a roller garage door:
- First, begin by positioning and securely fixing the side guides onto each side of the garage opening, ensuring that they’re placed the correct way round (note the guides are handed).
- Next, slot end plate pegs into guides and fix the end plates (and front box if supplied) to wall. Use a spirit level to ensure everything is level. The non-drive end of the barrel has an adjustable shaft. Tighten the motor plate and lock the barrel with the fixing bolt.
- Unwrap the curtain using the packaging to wrap the barrel for protection of the curtain and lift curtain over barrel and into the guides. Fit locking straps
- Mount the remote control panel to the wall and plug in to 13amp socket. (if safety edge supplied, secure wired safety edge cable into terminals.
- Now it’s time for minor tweaks. Set the limits on the motor using manufacturer’s guide. Be sure to leave around 90mm of curtain in the side guides at full opening.
- Finally, your roller garage door should come with an override mechanism that allows you to open and close the door in case of a power outage. Fit this and you’re all done!
Of course, if you’re unsure of how to put these steps into action, or are not confident in your ability to safely install your new roller garage door, it’s best to contact a professional installation team.

