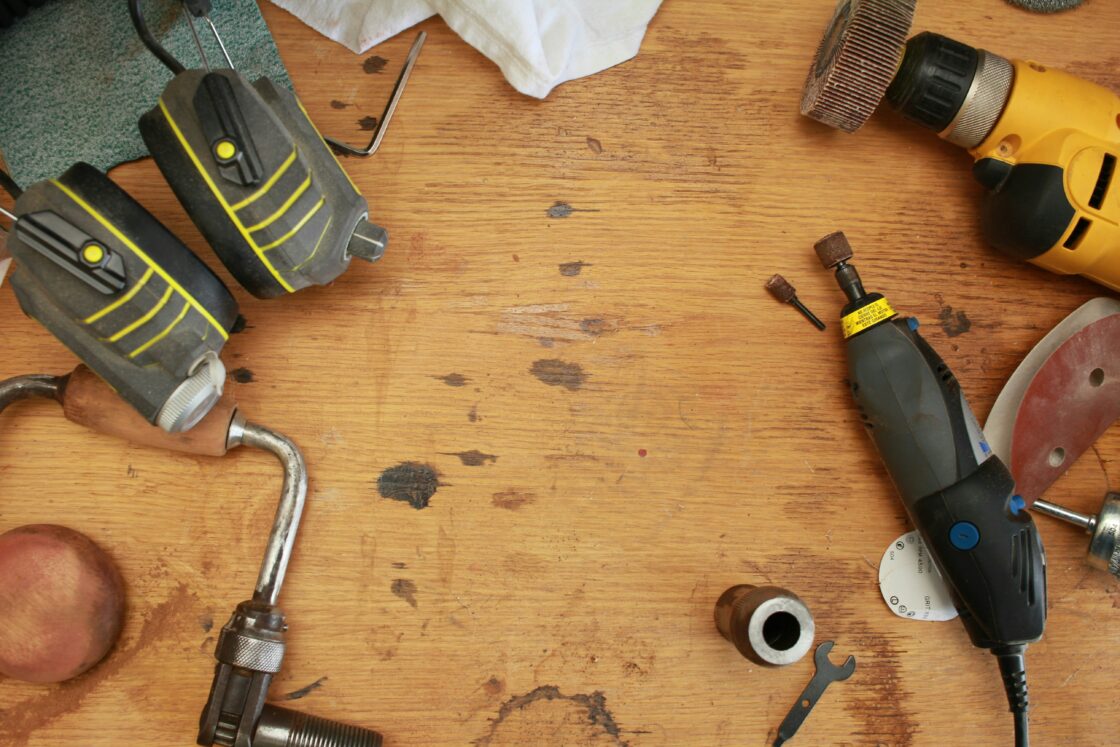
DIY: Perfecting the Mighty Workbench

Whether you’re a dab hand at DIY, or have recently bought your own home and are just starting to dabble in repairs and renovations, it’s well worth having a garage workbench to make those DIY jobs just a little easier. Wooden workbenches can be used for a number of tasks, including sanding and sawing.
There are some great wooden workbenches to be found in DIY stores, but it’s important to consider the overall size of the bench and how it will fit into its designated space within your home or garage, along with its features and how they match your requirements. In some instances, you may be unable to find a work table that completely matches your needs. If not, don’t worry. It’s easy to build a workbench yourself, even if you’re woodworking skills are a little rusty. By custom designing your own garage workbench, you’ll be able to add your own personal tweaks based on how you intend to use the bench.
Here’s how to build a workbench quickly and easily:
Materials Required:
- Work table wood
- 2×4 boards
- Saw
- Tape measure
- Screws
Note: When choosing wood for a wooden workbench, try to stay away from softwoods like pine. They may be inexpensive, but they’re more susceptible to damage, especially if you’re planning to use your new garage workbench for cutting. You could add varnish, but it will need many layers and a lot of maintenance to adequately protect the wood. It’s well worth paying a little more for a more durable hardwood like oak. Plywood is also a good choice if you’re planning on using your work table for repairs, but it may prove to be a little too uneven and non-uniform for cutting or more intricate woodworking.
- Measure and create a plan for your table. Make it as long as you like, but don’t make it too deep – you’ll want some overhang when cutting. For height, keep it a little lower than your hips.
- Cut your bench top to size, and cut your table legs from 2x4s. You’ll need to join these legs into frames. Build as many frames as necessary to fully support your table (more for a larger table).
- Attach the frames to long rails made from 2x4s with the legs flush against the edge, then lay the table top across the long tails. Fix loosely, then screw tightly when happy with the position.
- Once you have your basic wooden workbench, you can customise it however you wish to meet your own requirements. Consider adding shelving, storage drawers, or vises on the corners.
Most importantly of all, don’t worry if your woodworking skills aren’t quite up to scratch. The beauty of a garage workbench is that it’s not supposed to be ‘pretty’, and over time it will be subjected to all sorts, such as dents, holes, and splashes of paint – it happens! As long as your work table is sturdy, secure, and helps you to get the job done, that’s all that counts. That’s what makes this a great beginner’s project.
Header image credit: https://unsplash.com/photos/black-and-yellow-rotary-tool-v7WyjiyXNr4

